 Mailcrate
Verify Your Sending Domain
Add the domain you send from, publish its DNS records, and create the address your email comes from.
Mailbox providers like Gmail and Outlook only deliver mail reliably from a domain whose owner has proven control of it. In Mailcrate you do that once per domain, by publishing a few DNS records. Afterwards you create one or more sender identities: the "From" name and address recipients see, such as Acme Support <hello@acme.com>.
01
Add your domain
Mailcrate generates the DNS records for it.
02
Publish the records
At your registrar or DNS host.
03
Mailcrate verifies
Automatically, every 15 minutes.
04
Add a sender
The From name and address on your email.
Which domain should I use?
Your company domain (acme.com) works, and so does a subdomain used only for email (mail.acme.com). A subdomain keeps your marketing sending reputation separate from the mail your staff send from their own inboxes, which many teams prefer.
1. Add the domain
If you are in the setup wizard, enter the domain on the Sending step and choose Add Domain. Otherwise:
Go to Settings → Mail Setup → Mailing. This page lists every domain in the workspace with its status.
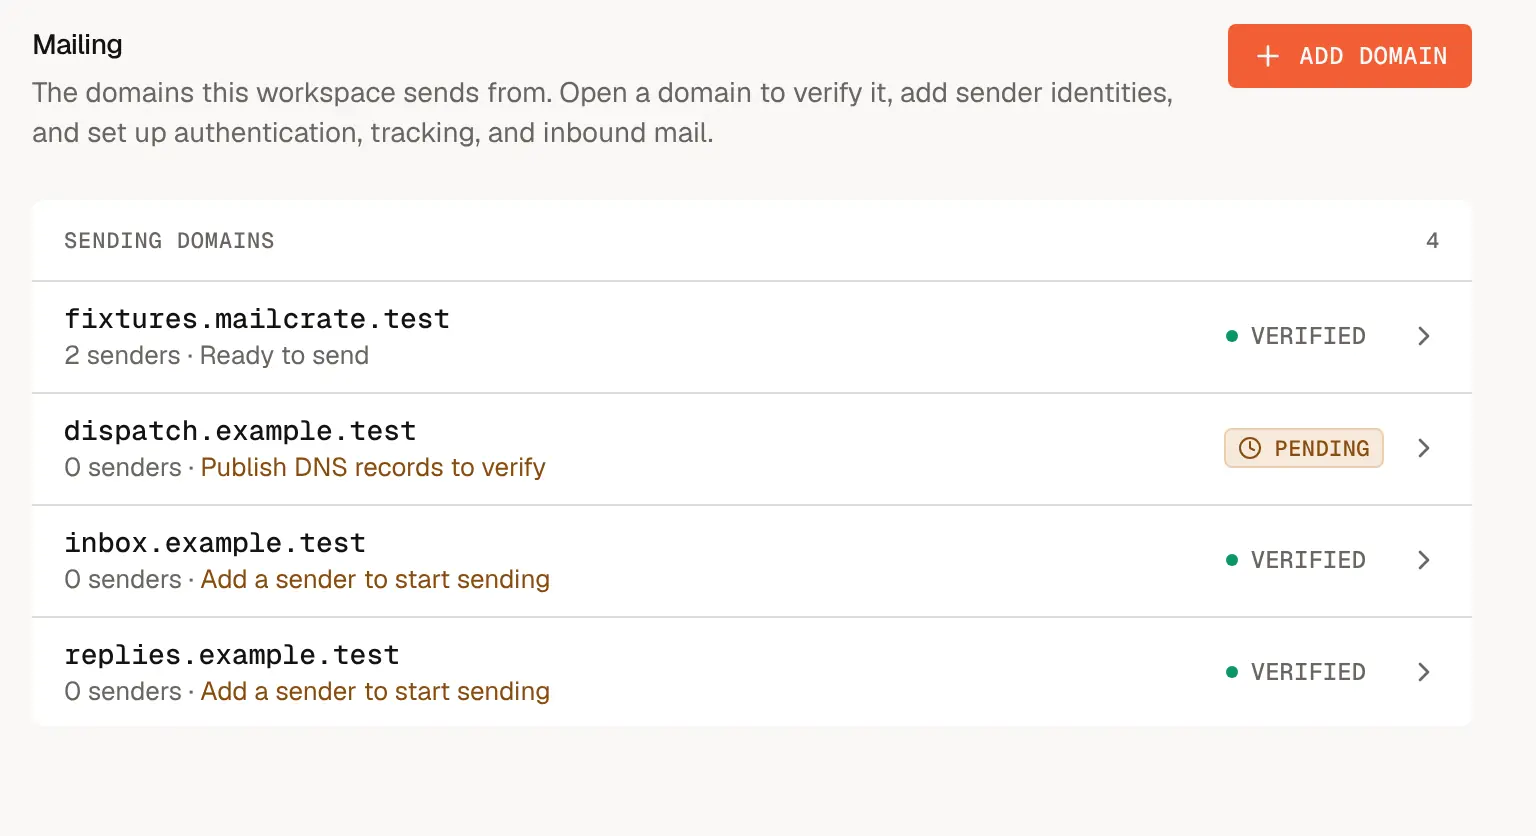
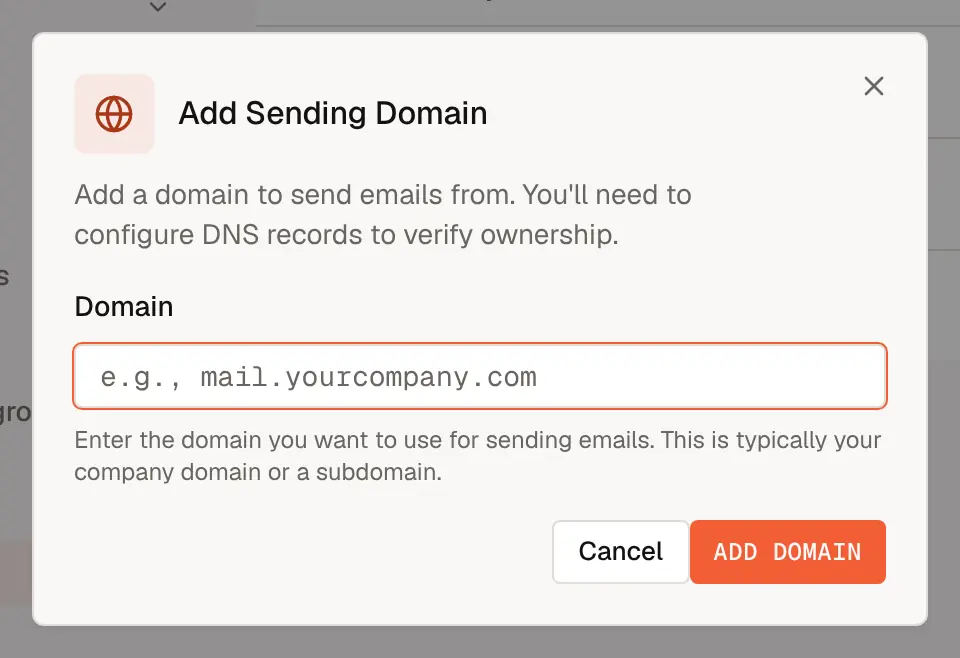
Choose Add domain, enter the domain without https:// or www, and choose Add Domain.
Open the new domain from the list. Its page shows the DNS records to publish, grouped by what they do.
2. Publish the DNS records
Sign in to the service that hosts your domain's DNS (your registrar, Cloudflare, Route 53 and so on) and add each record exactly as Mailcrate shows it. Every name and value has a copy button.
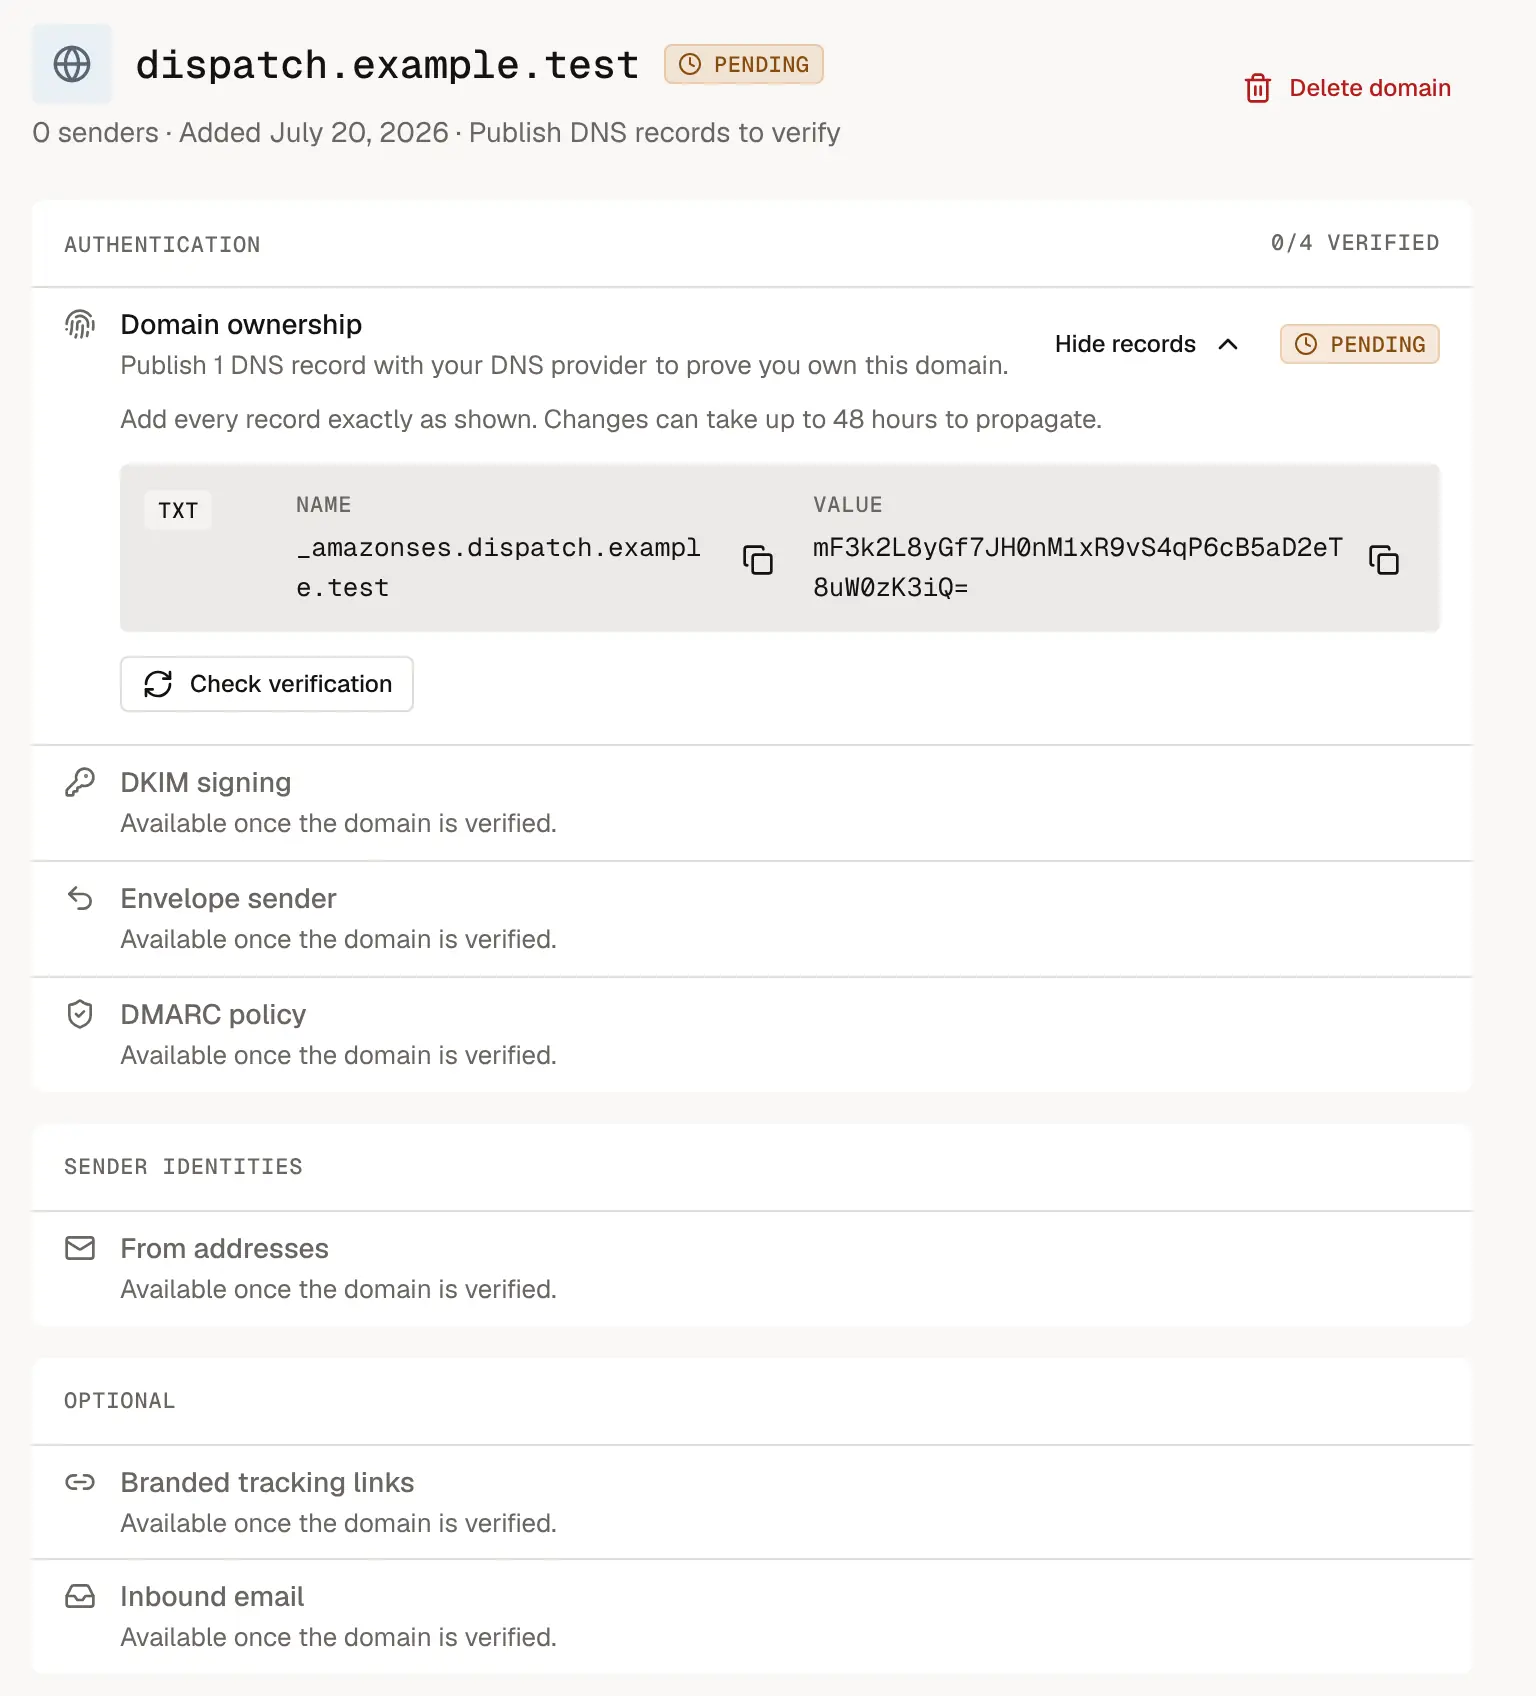
The records fall into four groups:
| Group | Records | What it does | Needed to verify |
|---|---|---|---|
| Domain ownership | TXT on _mailcrate-challenge.<domain>, and TXT on _amazonses.<domain> | Proves this workspace controls the domain. | Yes |
| DKIM signing | Three CNAME records on <token>._domainkey.<domain> | Lets Mailcrate sign your mail as your domain, so DKIM aligns. | No, but strongly recommended |
| Envelope sender | MX and TXT (SPF) on send.<domain> | Routes bounces through your own subdomain, so SPF aligns. | No, but strongly recommended |
| DMARC policy | TXT on _dmarc.<domain>, starting with v=DMARC1; p=none; | Tells providers what to do with mail that fails the checks. | No, advisory |
Only the ownership records decide whether the domain is Verified. DKIM and the envelope sender become available once the domain is verified, and sending keeps working while their records propagate. Publish them anyway: Gmail and Yahoo expect DKIM and SPF alignment from anyone sending in bulk, and without them more of your mail lands in spam.
Watch for a doubled domain name
Many DNS hosts add your domain to the end of every record name automatically. If yours does, enter only the part before your domain: _mailcrate-challenge, not _mailcrate-challenge.acme.com. Otherwise the record ends up at _mailcrate-challenge.acme.com.acme.com and never verifies. Your host's own record list shows the full name, which is the quickest way to check.
3. Wait for verification
DNS changes usually appear within minutes, but can take up to 48 hours. You don't have to keep the page open: Mailcrate re-checks pending domains every 15 minutes, for up to seven days, and marks the domain Verified as soon as the records resolve.
To check straight away, choose Check verification on the domain's page. "Domain not yet verified" just means the records aren't visible yet; wait a little and try again.
Once the domain is verified, its page shows every authentication item and its state:
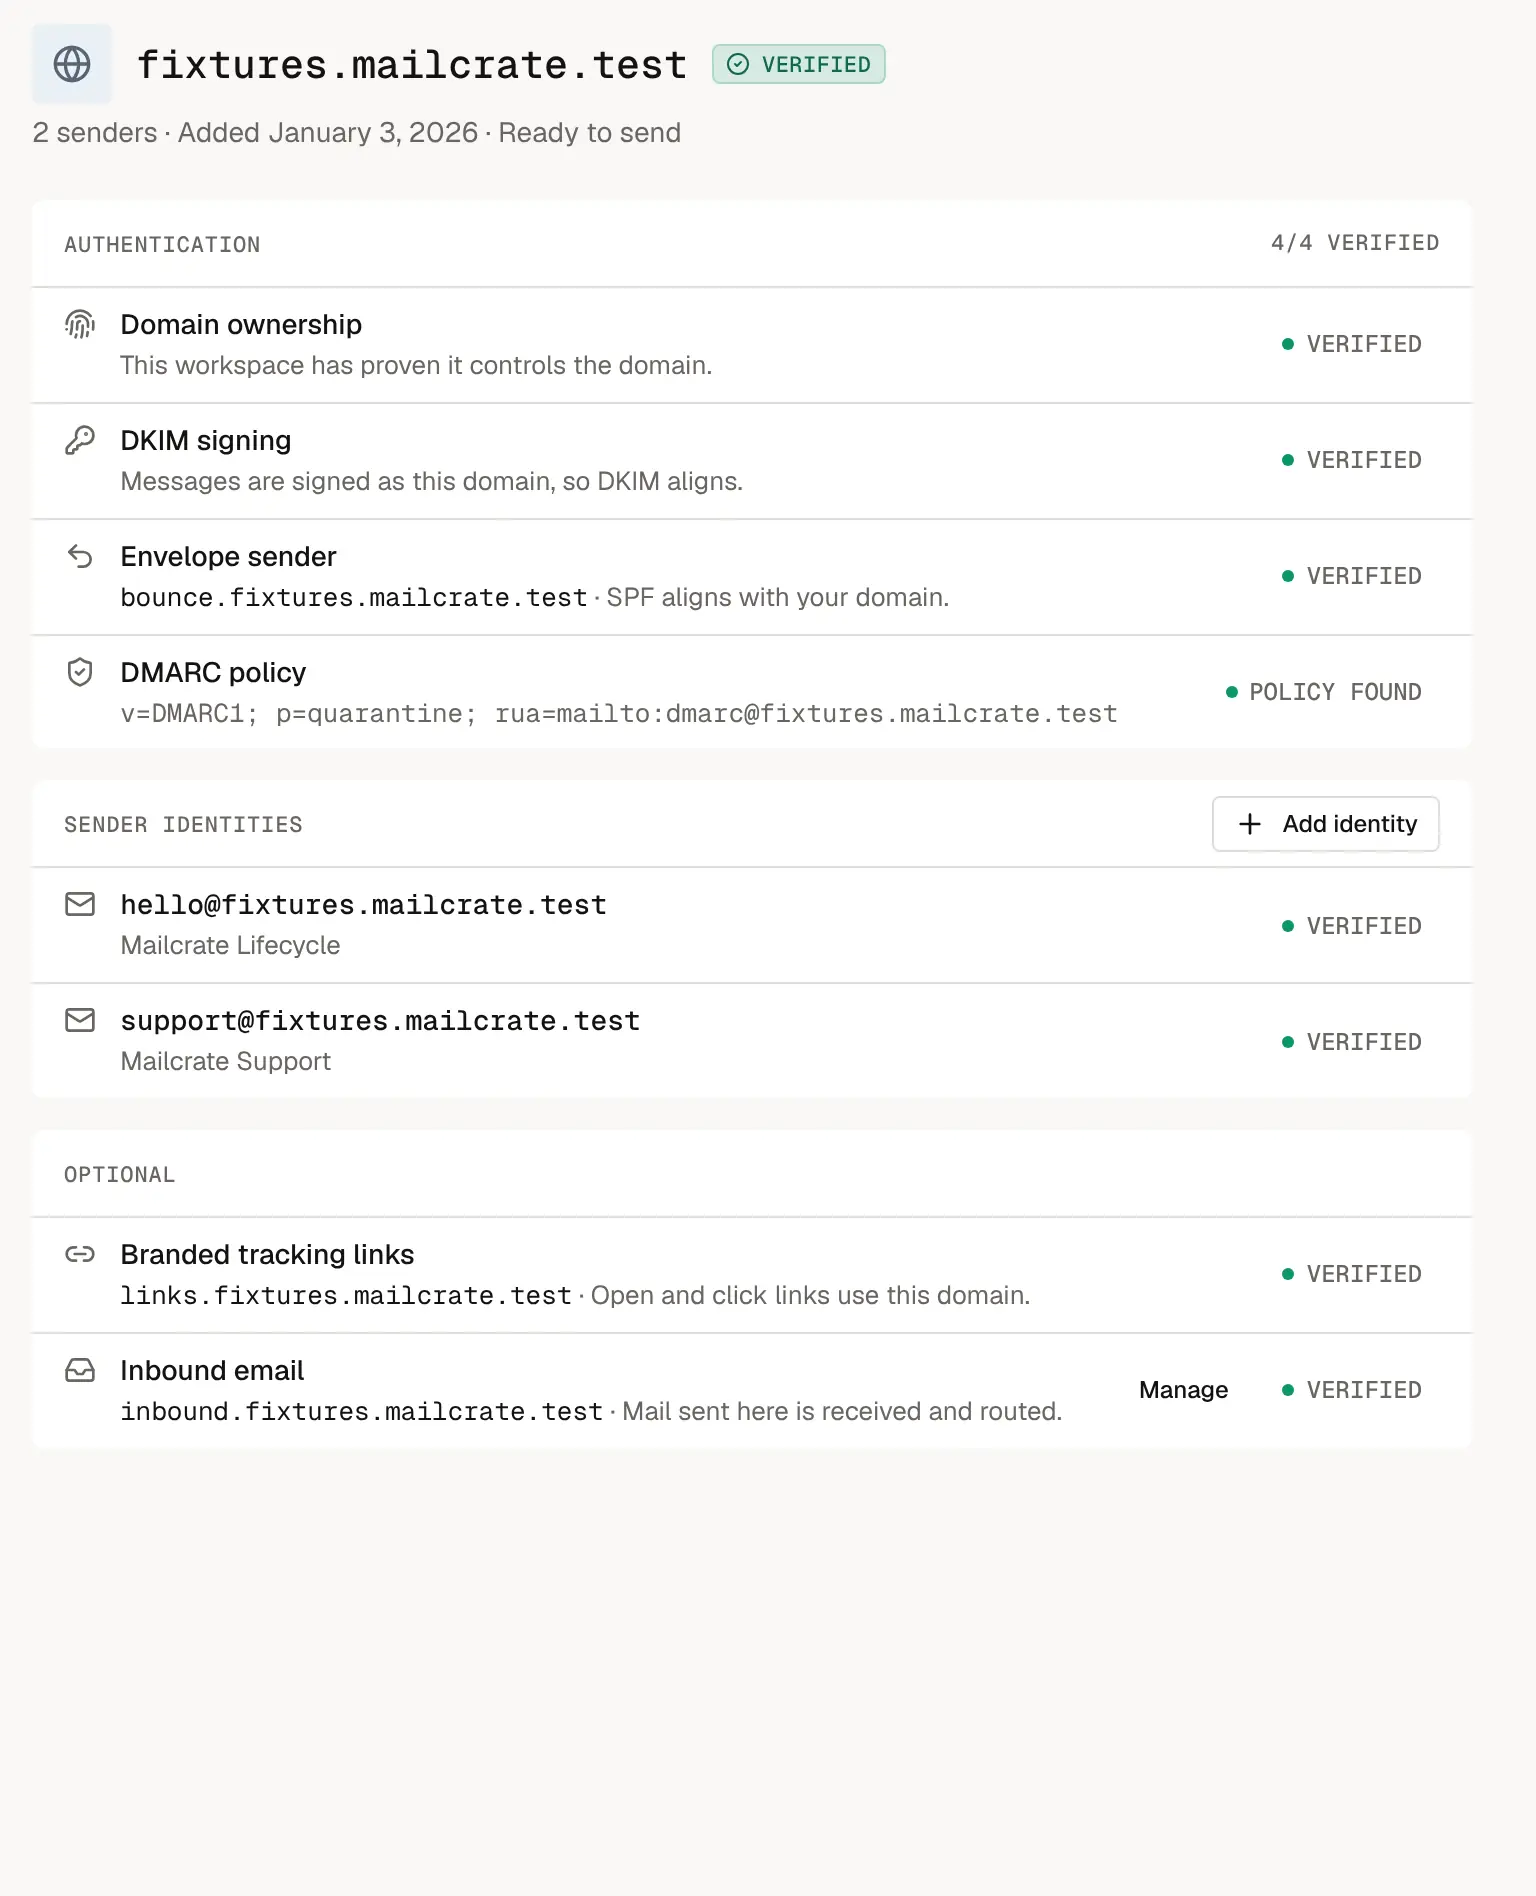
4. Add a sender identity
A sender identity is the name and address your email comes from. You can add as many as you like per domain, for example hello@, support@ and billing@.
On the domain's page, choose Add identity under Sender identities. (In the setup wizard, the form is on the same Sending step.)
Enter the Sender Name recipients will see, such as Acme Support, and the Email address on your domain, such as hello@acme.com.
Choose Create Identity. The identity is ready to use once its domain is verified.
The setup wizard lets you create a sender identity while the domain is still pending, so you can finish setup in one go. In settings, you add identities to verified domains only.
Your workspace can now send. To set up branded tracking links, receive mail on the domain, or remove a domain, see Sender & Domain Identities.
Troubleshooting
It has been more than a day and the domain is still pending. Look the record up from outside your network, for example with dig TXT _mailcrate-challenge.acme.com or an online DNS lookup tool. If nothing comes back, the record name is probably doubled (see the warning above) or was saved in a different DNS zone than the one your domain actually uses.
The domain shows as verified but DKIM is still pending. That is expected for a while after verification. Check that all three CNAME records are published; some hosts also proxy CNAME records by default (Cloudflare's orange cloud), which has to be turned off for these.
I'm in a sandbox workspace. Domains in a sandbox workspace verify immediately without any DNS changes, because a sandbox never sends real email.
Next step
Give your developers or integrations access with an API key, or go straight to Your First Campaign.